


Understanding Creepers and their Growth Patterns
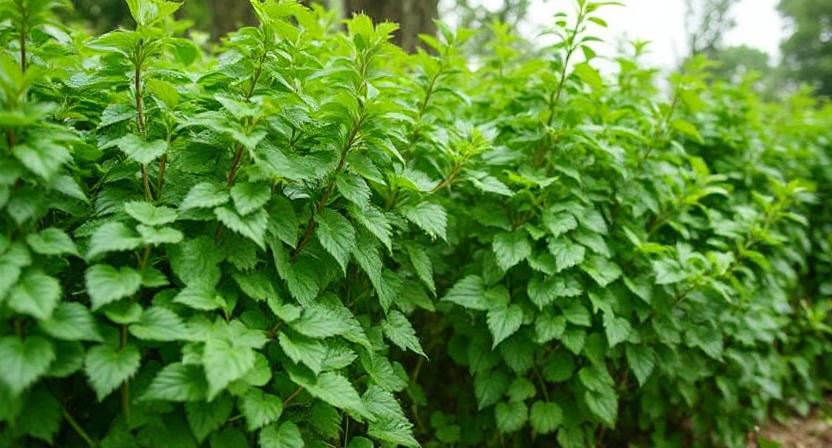
Creepers, also known as crawling or trailing plants, are a group of plants characterized by their unique growth patterns. These plants have the ability to spread horizontally along the ground or climb vertically with the help of structures such as tendrils or aerial roots. Understanding the growth patterns of creepers is essential for successful cultivation and maintenance.
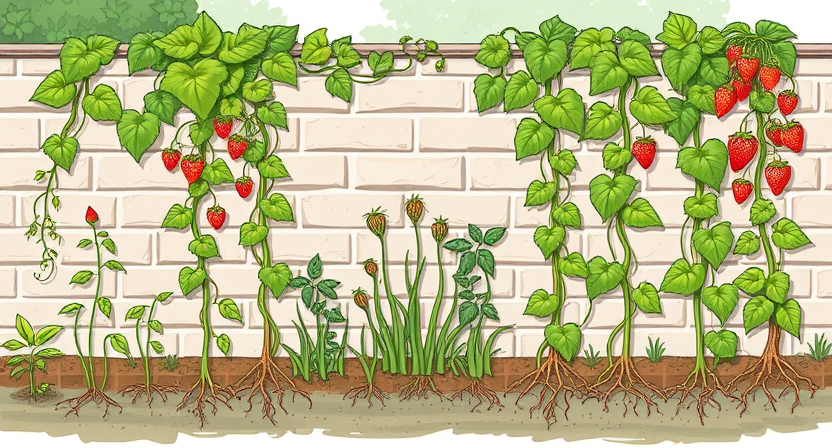
One common growth pattern of creepers is called stoloniferous growth. This occurs when the plant sends out long, slender stems called stolons along the ground. These stolons produce roots and new plants at regular intervals, resulting in a dense and spreading growth habit. Examples of plants that exhibit stoloniferous growth include strawberry runners and certain species of ivy. Another growth pattern seen in creepers is called clambering growth, which involves the plant using its flexible stems to climb and wrap around structures such as walls, fences, or trellises. This enables the creeper to grow upwards and take advantage of vertical space. Ivy and some species of climbing roses are popular examples of climbers.
• Creepers, also known as crawling or trailing plants, have unique growth patterns
• They can spread horizontally along the ground or climb vertically with the help of structures like tendrils or aerial roots
• Understanding these growth patterns is crucial for successful cultivation and maintenance
One common growth pattern of creepers is stoloniferous growth:
– The plant sends out long, slender stems called stolons along the ground
– These stolons produce roots and new plants at regular intervals
– This results in a dense and spreading growth habit
– Examples include strawberry runners and certain species of ivy
Another growth pattern seen in creepers is clambering growth:
– The plant uses its flexible stems to climb and wrap around structures such as walls, fences, or trellises
– This allows the creeper to grow upwards and utilize vertical space
– Popular examples include ivy and some species of climbing roses
Selecting the Right Time and Tools for Stem Cutting Propagation
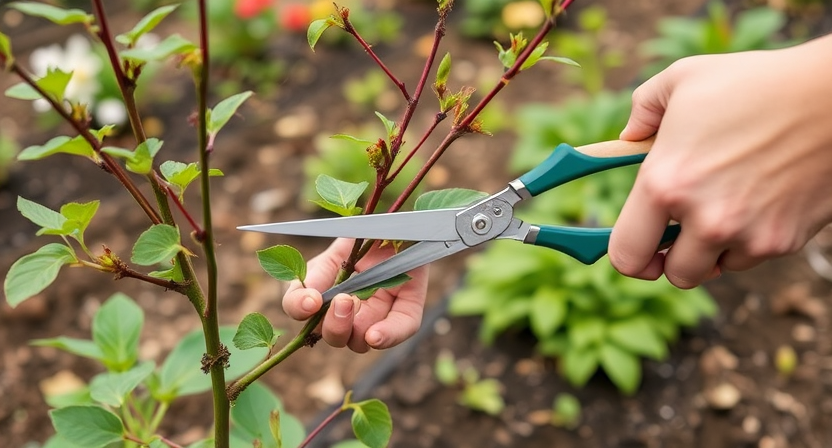
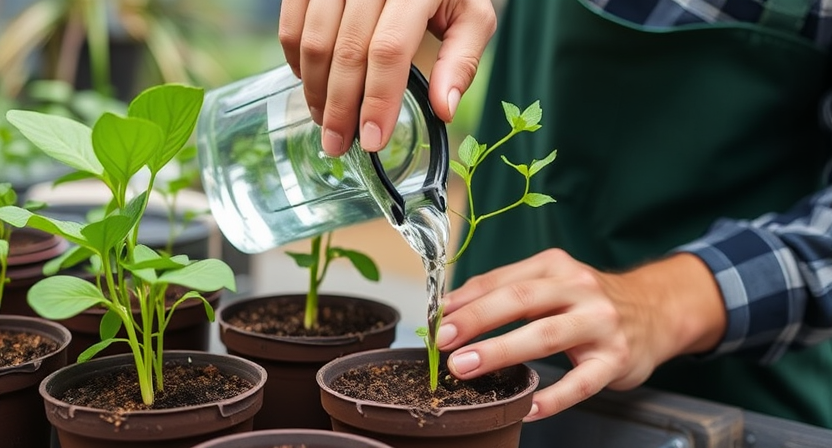
To ensure successful stem cutting propagation, it is crucial to select the right time and tools for the task. Timing is essential because it determines the overall health and success rate of the cuttings. Generally, the best time to take stem cuttings is during the plant’s active growth period, which is usually in the spring or early summer. During this time, the plants have ample energy and resources to support new root growth. It is advisable to choose healthy, disease-free stems for propagation to increase the chances of successful rooting. When selecting the tools, it is important to have a clean and sharp pair of pruning shears or a knife. A sharp cutting tool ensures clean cuts and reduces the risk of damaging the plant’s tissue, enhancing the chances of successful propagation. Clean tools also minimize the spread of any potential diseases or pathogens.
When gathering the stem cuttings, it is best to take them early in the day when the plant is most hydrated and the temperatures are cooler. This minimizes stress on the cutting and allows it to retain more moisture during the propagation process. Additionally, taking the cuttings from new growth or the tips of the stems is preferable, as these sections tend to root more easily compared to older, woody parts. It is also essential to choose stem cuttings that have at least two nodes, which are the points where leaves and aerial roots emerge. These nodes contain the necessary hormones for root formation and are crucial for successful propagation. By selecting the right time and tools for stem cutting propagation, gardeners can greatly increase their chances of successfully creating new plants.
• The best time to take stem cuttings is during the plant’s active growth period, typically in spring or early summer.
• Choose healthy, disease-free stems for propagation to increase success rate.
• Use clean and sharp pruning shears or a knife to ensure clean cuts and reduce tissue damage.
• Clean tools help minimize the spread of diseases or pathogens.
• Gather stem cuttings early in the day when plants are hydrated and temperatures are cooler.
• Taking cuttings from new growth or tips of stems increases chances of successful rooting.
• Select stem cuttings with at least two nodes for root formation hormones.
Identifying Healthy and Suitable Stem Cuttings for Propagation
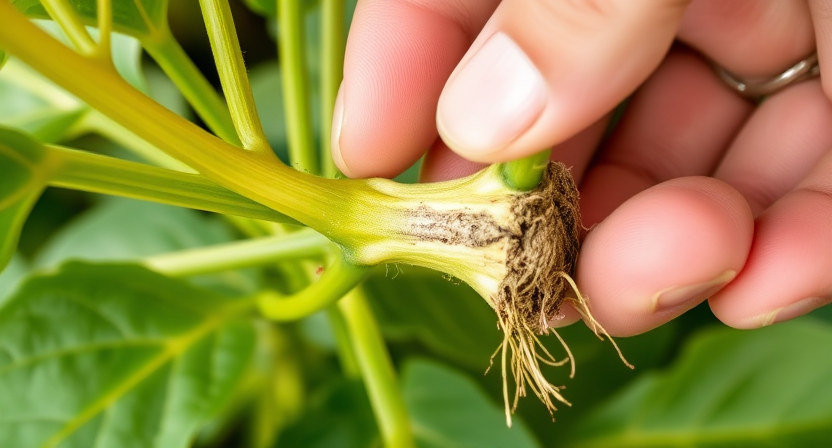
When it comes to propagating plants through stem cuttings, selecting the right cuttings is crucial for successful growth. To ensure healthy and suitable cuttings, there are a few key characteristics to look out for. Firstly, choose stems that are young and vigorous, showing no signs of damage or disease. Look for stems that are firm and have green, healthy foliage. Avoid any stems that are wilted or discolored, as these may indicate poor health. Additionally, selecting stems that have nodes – the points where leaves emerge – is important, as these nodes are where root growth will begin.
Another important aspect to consider when identifying suitable stem cuttings is the length and thickness of the stems. Aim for cuttings that are approximately 4-6 inches in length, as this provides enough plant material for rooting without being too long and unwieldy. In terms of thickness, choose stems that are neither too thin nor too thick. Stems that are too thin may have difficulty supporting new root development, while stems that are too thick may take longer to establish a root system. By selecting healthy and suitable stem cuttings, you are setting yourself up for a higher chance of success in propagating your favorite creeping plants.
• Choose stems that are young and vigorous, showing no signs of damage or disease
• Look for firm stems with green, healthy foliage
• Avoid wilted or discolored stems as they may indicate poor health
• Select stems that have nodes, as these are where root growth will begin
• Aim for cuttings that are approximately 4-6 inches in length
• This provides enough plant material for rooting without being too long and unwieldy
• Choose stems that are neither too thin nor too thick
• Thin stems may struggle to support new root development
• Thick stems may take longer to establish a root system
By following these guidelines and selecting healthy and suitable stem cuttings, you increase your chances of successful propagation.
Preparing the Stem Cuttings for Successful Propagation
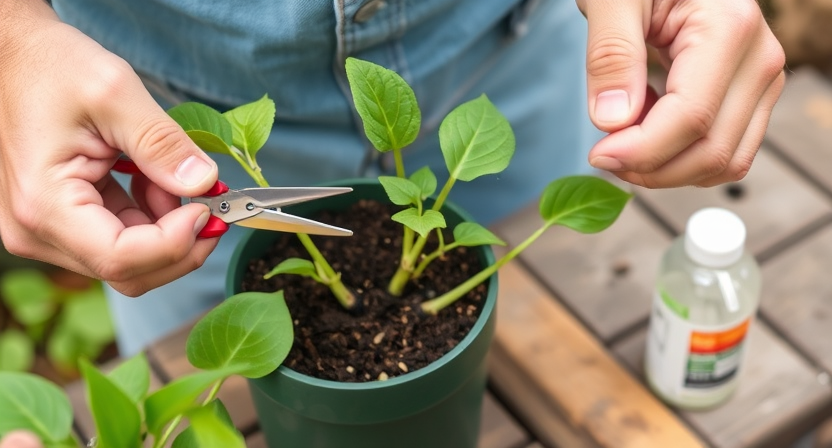
To prepare stem cuttings for successful propagation, it is essential to choose a healthy and suitable stem. Look for stems that are sturdy and disease-free, with no signs of rot or damage. Ideally, the stem should have several nodes, as these are the areas where new roots will develop. Using clean and sharp pruning shears, make a clean cut just below a node, ensuring that the cutting is around 4-6 inches in length.
After selecting the appropriate stem cuttings, it is crucial to remove any leaves or flowers from the lower part of the stem. By removing these foliage, the plant can allocate its energy towards root development rather than maintaining unnecessary foliage. Be careful not to damage the stem when removing the leaves, as any wounds or tears may impede the success of the propagation process.
• Choose a healthy and suitable stem for propagation
• Look for sturdy and disease-free stems with no signs of rot or damage
• Ideally, the stem should have several nodes where new roots will develop
• Use clean and sharp pruning shears to make a clean cut just below a node
• Ensure that the cutting is around 4-6 inches in length
After selecting the appropriate stem cuttings, it is crucial to remove any leaves or flowers from the lower part of the stem. By removing these foliage, the plant can allocate its energy towards root development rather than maintaining unnecessary foliage. Be careful not to damage the stem when removing the leaves, as any wounds or tears may impede the success of the propagation process.
Once all unwanted foliage has been removed, it is important to prepare the stem cutting for planting. Some gardeners prefer to dip their cuttings into rooting hormone before planting them in a suitable growing medium. Rooting hormones help stimulate root growth and increase chances of successful propagation. However, this step is optional and not necessary for all plants.
Next, prepare a well-draining potting mix or rooting medium that suits your specific plant species. This can vary depending on whether you are propagating woody plants or herbaceous plants. The potting mix should be light and airy while still retaining moisture to provide optimal conditions for root development.
Carefully insert each prepared stem cutting into individual pots filled with moist potting mix or rooting medium. Make sure that at least one node is buried beneath the soil surface while leaving some space above it so that new shoots can emerge without obstruction.
Place your potted cuttings in an area with bright but indirect sunlight. Avoid exposing them to intense heat or direct sunlight as this may cause wilting or burning of delicate young plants.
Regularly monitor soil moisture levels by gently touching the top layer of soil with your finger. If it feels dry, water lightly until moisture is evenly distributed throughout the pot. Overwatering can lead to rotting of the stem cutting, so it is important to find a balance and avoid waterlogging.
Finally, be patient and provide consistent care for your stem cuttings. It may take several weeks or even months for roots to develop and new growth to emerge. During this time, maintain a stable environment with appropriate temperature and humidity levels.
By following these steps and providing proper care, you can increase the chances of successful propagation from stem cuttings. With patience and dedication, you will soon see new roots forming and healthy plants thriving in your garden or indoor space.
• Dip cuttings into rooting hormone (optional)
• Prepare well-draining potting mix or rooting medium
• Insert each prepared stem cutting into individual pots filled with moist soil
• Place potted cuttings in an area with bright but indirect sunlight
• Regularly monitor soil moisture levels
• Be patient and provide consistent care
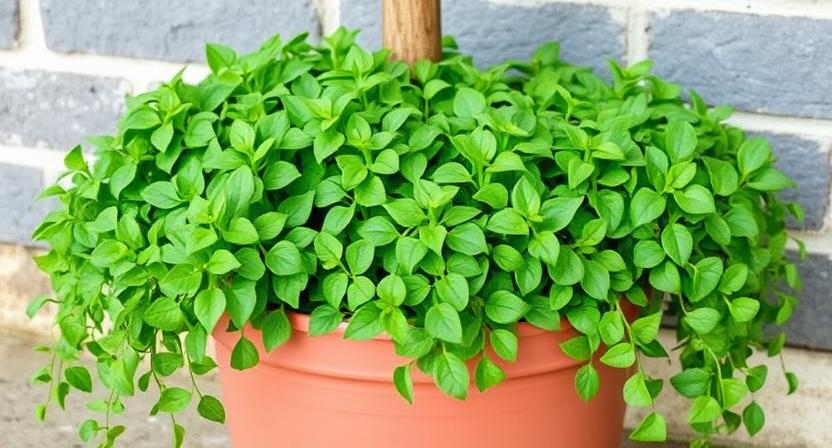
Creating the Ideal Growing Environment for Creeping Plants
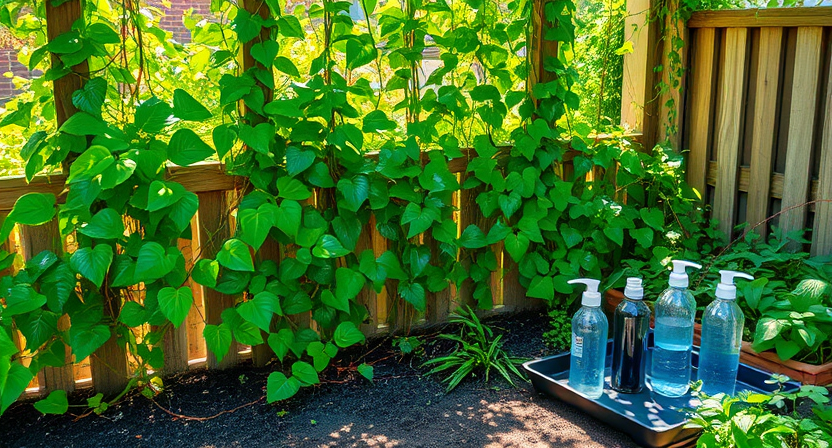
Creeping plants require a carefully crafted environment to thrive. First and foremost, it is crucial to select the right location for these plants. Most creepers prefer partial shade or dappled sunlight, as direct sunlight can scorch their delicate leaves. Additionally, it is important to consider the soil type and drainage capabilities of the chosen spot. These plants typically prefer well-draining soil that retains some moisture but does not become waterlogged. Ensuring proper soil pH and nutrient content is also essential for their healthy growth.
In addition to the location and soil, maintaining appropriate humidity levels is vital for the success of creeper plants. These plants generally prefer a moderately humid environment, as excessive moisture can lead to fungal diseases. To increase the humidity, you can mist the leaves regularly or place a tray filled with water near the plants. However, it is important to avoid overwatering, as this can cause root rot and negatively impact the plant’s growth. By carefully considering these factors, you can create an ideal growing environment for your creeping plants, allowing them to flourish and beautify your surroundings.
• Select the right location for creeping plants, preferably partial shade or dappled sunlight
• Consider the soil type and drainage capabilities of the chosen spot
• Ensure well-draining soil that retains some moisture but does not become waterlogged
• Maintain proper soil pH and nutrient content for healthy growth
• Maintain appropriate humidity levels to prevent fungal diseases
• Increase humidity by misting leaves regularly or placing a tray filled with water nearby
• Avoid overwatering to prevent root rot
• Create an ideal growing environment for your creeping plants to flourish and beautify surroundings
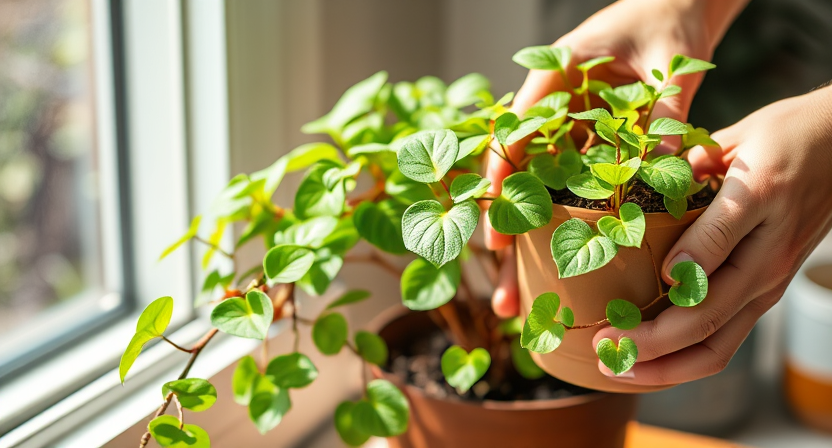
Planting and Caring for Stem Cuttings in Containers or Pots

When it comes to planting and caring for stem cuttings in containers or pots, there are a few key considerations to keep in mind. First and foremost, it’s important to choose the right container size. Opt for a container that is just slightly larger than the stem cutting to allow for adequate root development without excessive moisture retention. Additionally, ensure that the container has proper drainage holes to prevent waterlogging and promote healthy growth.
Next, select a well-draining potting mix specifically formulated for cuttings or young plants. This type of mix will provide the necessary nutrients and aeration for optimal root development. Gently insert the stem cutting into the potting mix, making sure to bury it at least halfway into the soil. Be careful not to overcrowd the container, as this can lead to competition for resources among the plants. Finally, water the stem cutting thoroughly after planting, but avoid overwatering, as excess moisture can cause root rot. Place the container in a warm, well-lit area, away from direct sunlight, to encourage root growth and overall plant development. By following these steps, you’ll be on your way to successfully planting and caring for stem cuttings in containers or pots.
• Choose a container that is slightly larger than the stem cutting
• Ensure the container has proper drainage holes to prevent waterlogging
• Select a well-draining potting mix formulated for cuttings or young plants
• Gently insert the stem cutting into the potting mix, burying it at least halfway into the soil
• Avoid overcrowding the container to prevent competition for resources among plants
• Water thoroughly after planting, but avoid overwatering to prevent root rot
• Place the container in a warm, well-lit area away from direct sunlight for optimal growth and development
Providing Adequate Watering and Humidity for Root Development
Proper watering and humidity are crucial factors for the successful development of roots in stem cuttings. It is important to strike a balance between providing enough moisture and avoiding overwatering, which can lead to root rot. Regularly check the moisture level of the soil by lightly touching it with your finger. If it feels dry, it’s time to water the cuttings, but if it feels moist, it’s best to wait. Remember to use room temperature water to prevent any shock to the delicate cuttings.
Humidity is equally important, as it helps to prevent excessive moisture loss through the leaves and aids in the formation of roots. One way to increase humidity is by placing a clear plastic bag or a propagator dome over the container or pot covering the cuttings. This creates a mini greenhouse effect, trapping the moisture and maintaining a higher humidity level around the stems. Be sure to open the bag or remove the dome for a short period each day to allow air circulation and prevent the growth of mold or fungus. By providing adequate watering and humidity, you are creating optimal conditions for root development in stem cuttings, increasing the likelihood of success in propagating your favorite creeping plants.
• Regularly check the moisture level of the soil by lightly touching it with your finger.
• Use room temperature water to prevent shock to the cuttings.
• Place a clear plastic bag or propagator dome over the container or pot covering the cuttings to increase humidity.
• Open the bag or remove the dome for a short period each day to allow air circulation and prevent mold or fungus growth.
Monitoring and Adjusting Light Exposure for Optimal Growth
Proper light exposure is crucial for the optimal growth of creeping plants. Monitoring and adjusting the amount of light they receive will help ensure healthy development.
One key aspect to consider is the intensity of light. Creeping plants generally prefer bright, indirect light. Too much direct sunlight can scorch their leaves, while low light levels can hinder their growth. It is important to observe the plants closely and adjust their positioning accordingly. If the leaves start to turn yellow or develop brown spots, it may indicate that they are receiving too much light. On the other hand, if the stems become elongated and leaves appear pale or smaller than usual, it could mean that the plants are not receiving enough light. Regularly rotating the pots or containers can help ensure even light distribution and promote balanced growth.
In addition to intensity, the duration of light exposure also plays a crucial role in the growth of creepers. Most creeping plants require around 12 to 16 hours of light per day for healthy development. Keeping them in well-lit areas or using artificial grow lights can help provide the necessary duration of light. However, it is essential to avoid exposing the plants to continuous light for 24 hours as they need a period of darkness for growth and rest. By monitoring the duration of light they receive and adjusting the lighting schedule accordingly, you can promote optimal growth and ensure the well-being of your creeping plants.
• Creeping plants prefer bright, indirect light
• Too much direct sunlight can scorch their leaves
• Low light levels can hinder their growth
• Monitor the plants closely for signs of too much or too little light exposure
• Yellowing leaves or brown spots may indicate too much light
• Elongated stems and pale or smaller leaves may indicate not enough light
• Regularly rotate pots to ensure even light distribution
• Most creeping plants require 12-16 hours of light per day
• Use well-lit areas or artificial grow lights to provide necessary duration of light
• Avoid exposing plants to continuous 24-hour lighting
• Adjust lighting schedule to provide periods of darkness for growth and rest
Recognizing and Addressing Common Issues during Propagation
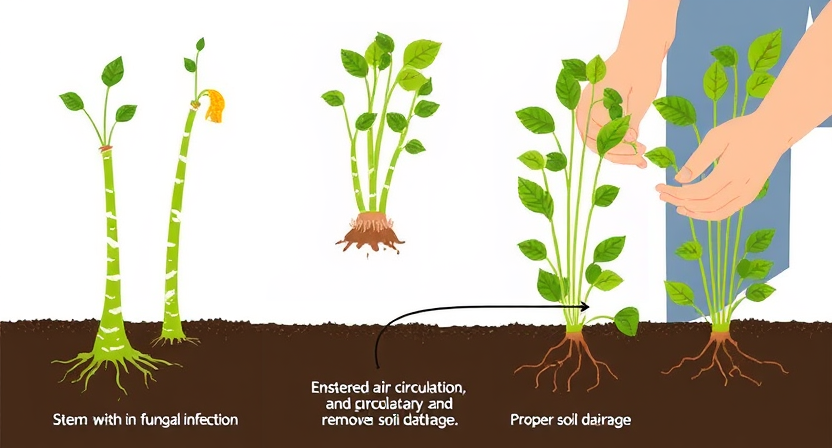
Common issues can arise during the propagation of plants, especially when it comes to stem cuttings. One common issue is the development of fungal diseases. Fungi can attack the cuttings, causing them to wilt, rot, or develop dark spots. To prevent fungal diseases, it is important to use sterile tools and containers, as well as clean and well-draining soil. Additionally, it is helpful to provide good air circulation around the cuttings to reduce humidity and minimize the risk of fungal growth. If fungal diseases do occur, it is crucial to remove the affected cuttings and adjust the growing conditions to prevent further spread.
Another common issue is the development of root rot. Root rot can occur when the cuttings are overwatered or placed in soaked soil for an extended period of time. Symptoms of root rot include wilting, yellowing leaves, and a foul odor. To prevent root rot, it is necessary to ensure proper drainage by using a well-draining soil mix and a container with drainage holes. Moreover, it is important to water the cuttings sparingly, allowing the soil to dry slightly between each watering session. If root rot is detected, it is essential to remove the affected cuttings, trim off any rotting roots, and replant them in fresh soil with proper drainage to encourage recovery.
• Use sterile tools and containers to prevent fungal diseases
• Clean and well-draining soil helps minimize the risk of fungal growth
• Provide good air circulation around cuttings to reduce humidity
• Remove affected cuttings if fungal diseases occur
• Overwatering can lead to root rot in stem cuttings
• Ensure proper drainage by using a well-draining soil mix and container with holes
• Water cuttings sparingly, allowing the soil to dry slightly between each watering session
• If root rot is detected, remove affected cuttings, trim off rotting roots, and replant in fresh soil with proper drainage for recovery.
Transferring Rooted Creepers to the Garden or Desired Location
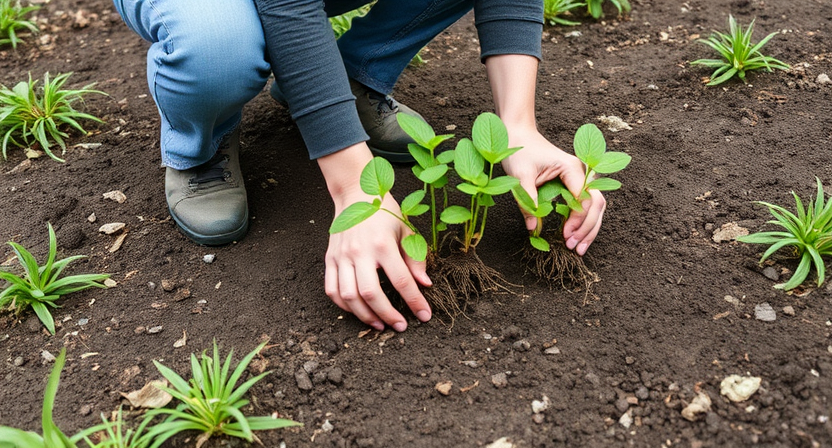
After successfully propagating your creepers from stem cuttings, the next step is to transfer them to their permanent location in the garden or desired area. This is a crucial step in ensuring the continued growth and development of your plants.
Before transferring the rooted creepers, it is important to evaluate the location and ensure it meets the specific requirements of your plants. Consider factors such as sunlight exposure, soil quality, and adequate spacing. This will help to ensure optimal growth and prevent any potential issues that may arise in the future. Additionally, prepare the soil by loosening it and removing any weeds or debris that may interfere with the growth of your newly transplanted creepers. Taking the time to properly prepare the area will promote healthy root development and establish a solid foundation for your plants.
• Evaluate the location for sunlight exposure, soil quality, and spacing
• Prepare the soil by loosening it and removing weeds or debris
• Properly preparing the area promotes healthy root development
• Establish a solid foundation for your plants